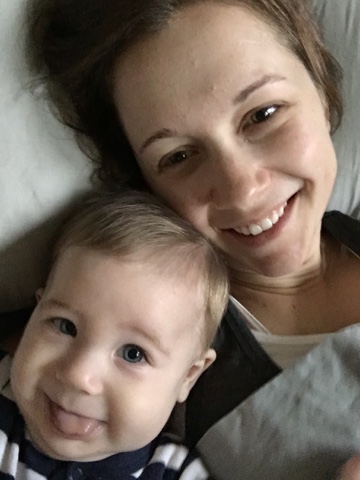
Whenever this little rascal wakes up before big brother, he gets to snuggle in bed with mommy. He makes such funny faces hehe 🙂
So I have always been a crafty-hobby type of person… even when I was younger I enjoyed crocheting, cross-stitching and painting… I know, I’m an old woman at heart haha… Of course I did these things in a rocker with a cat in my lap… KIDDING!
Today I’m doing a post on making holiday wreaths.
I. LOVE. HOLIDAY. WREATHS.
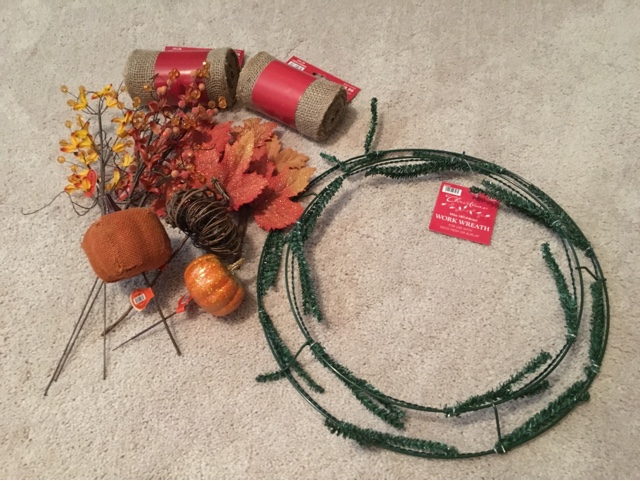
I’m weirdly obsessed with them. There are so many cute ideas on Pinterest, you can easily get ideas of designs and what kind of wreath you want to make there. I’m posting on a basic work wreath that you can find at any craft store. They are pretty simple to make, and much less expensive than getting one off of Etsy. I don’t think I spent more than $20 on this one, but you could easily spend less if you wanted it even more basic.
There are two sizes of wreaths, I bought the smaller one for my door because the bigger ones make HUGE wreaths. All you need is a wire wreath, a few rolls of burlap or ribbon of your choice and maybe some decorative items to add at the end. Hobby Lobby is good about putting all of this stuff on sale, usually 40-50% off most of the seasons.
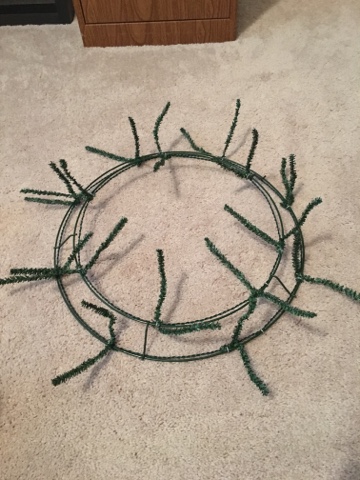
Start by opening the wire pieces on your wreath. This is where you will insert your ribbon.
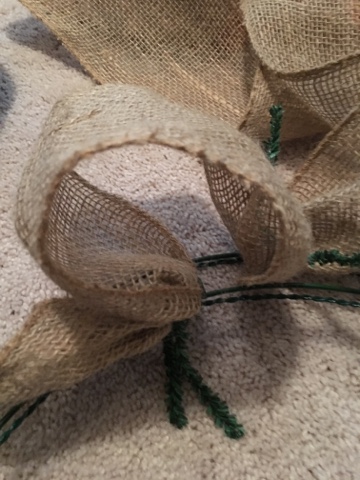
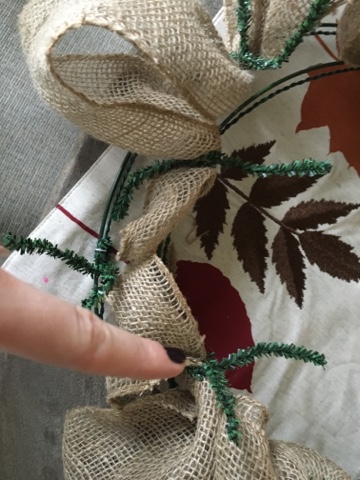
Pick a starting point and lay the end of the ribbon down between the two prongs, then gently close. I wouldn’t twist them too tightly because you will be opening them again later as you come around again. I usually start on one of the inside prongs.

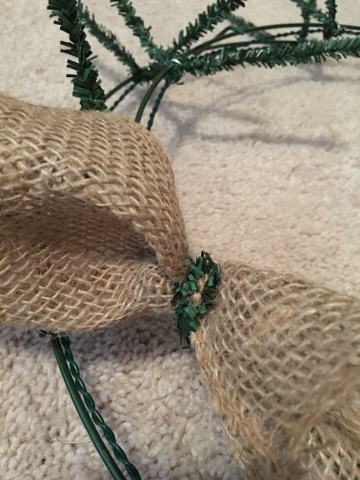
Once you secure the end of the ribbon, jump over to a prong on the outside circle and secure the ribbon again. You will make a little loop like you see below. You can make them tight or loose, just depends on what look you are going for. Again, I wouldn’t twist the ties too tightly because you will be opening them again as you come around with your ribbon.
Jump back to the inside loop and repeat the securing process of laying the ribbon in-between the ties and gently twisting them to hold it down.
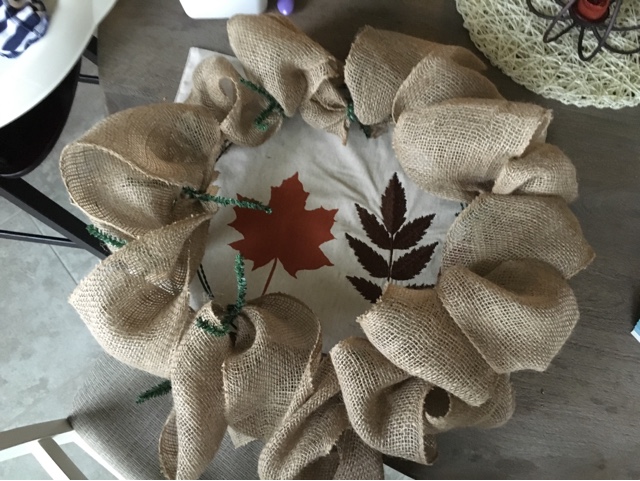
You will continue this process the whole way around your wreath. So as you can see below, this is what your wreath would look like after one revolution of ribbon.
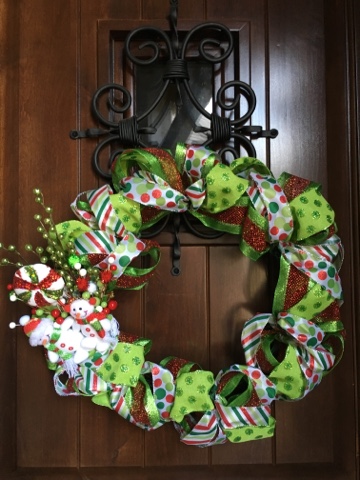
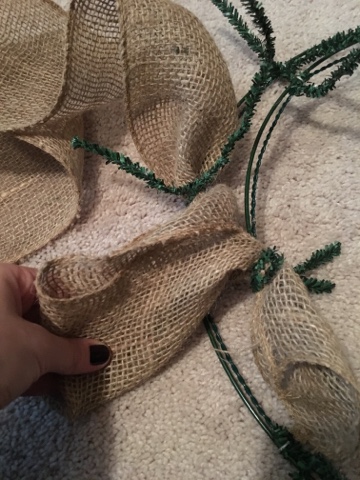
Once you get back to your starting point, you will open that prong and lay down another layer of ribbon on top of the ribbon already there. Then close the ties and secure them tighter this time unless you plan on making another loop. (I posted a picture of my Christmas wreath at the bottom. I used four different ribbons on that wreath, so I made four trips around that wreath.)
Continue across to the prong diagonal/across on the outside circle and secure the ribbon again. You can then arrange the ribbon to lay how you want it to look – tight, loose, separated from the other layer or more on top of the first layer…up to you! The great thing about these projects is that they are VERY forgiving! It is easy to adjust things later and add or take away to make them look exactly how you want!
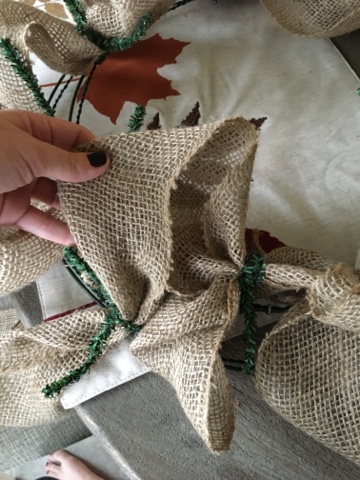 |
| You can see how you now have two loops in the same area. |
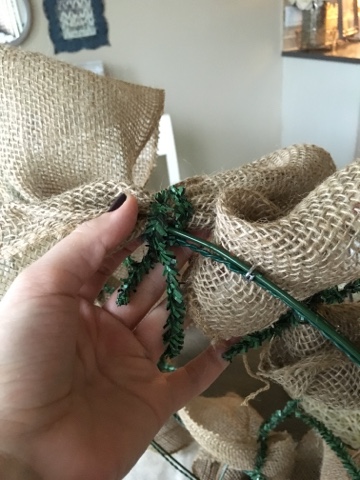 |
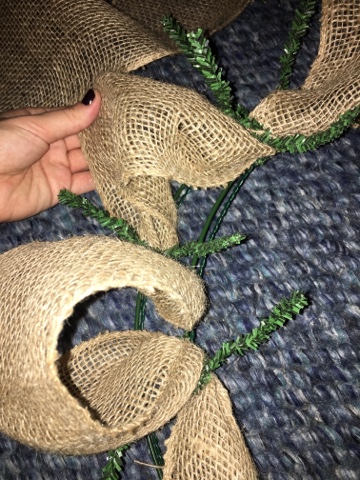
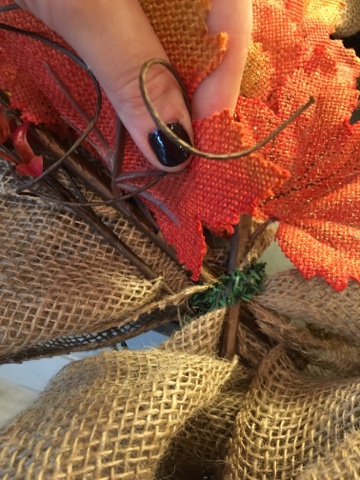
| Securing the ties around the back… |

Continue opening each prong and securing your ribbon around the wreath, hopping from the inner loop to the outer loop.
 |
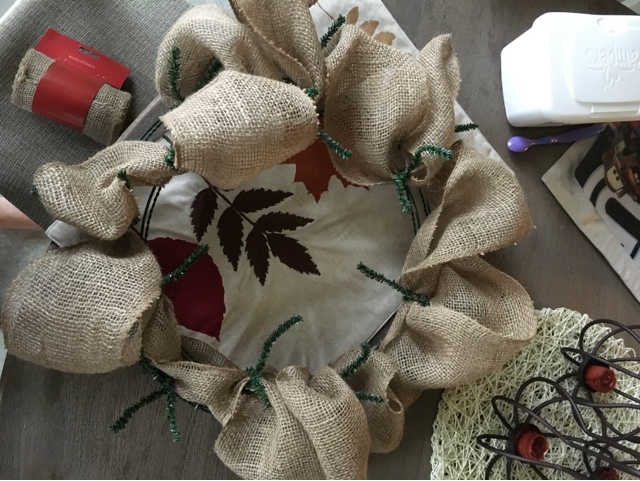
| Your finished product would look something like this. 🙂 |
 |
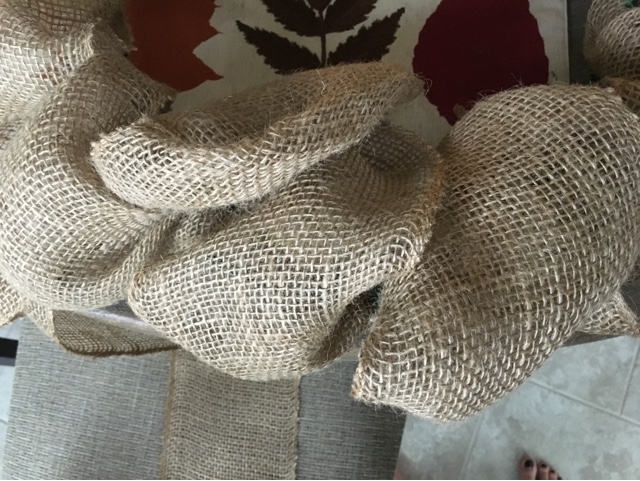
| You can see the difference here, there are two rounds on the right and only one on the left. The more rounds you make, the fuller the wreath would be. |
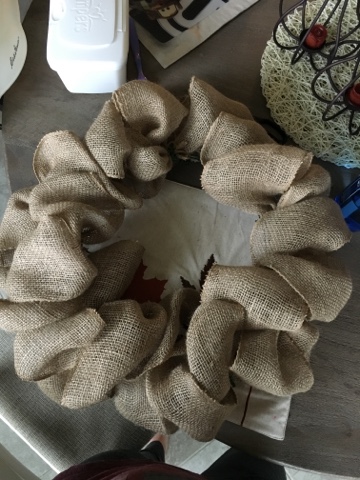 |
| Tada!!! So easy!!! |
Once the ribbon is secure, plug in that hot glue gun and get ready to do the add ons! There is probably another way you could secure these but hot glue is my go to haha!

Hobby Lobby has TONS of stuff like this… and it’s all pretty cheap too! These were just 1-2 dollars each!
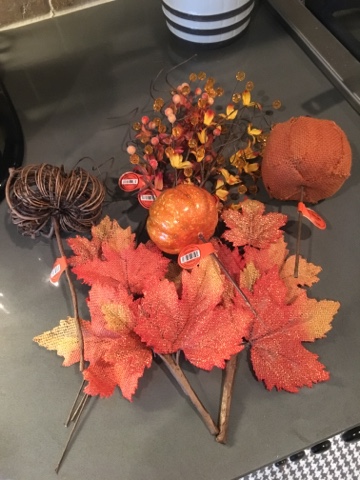
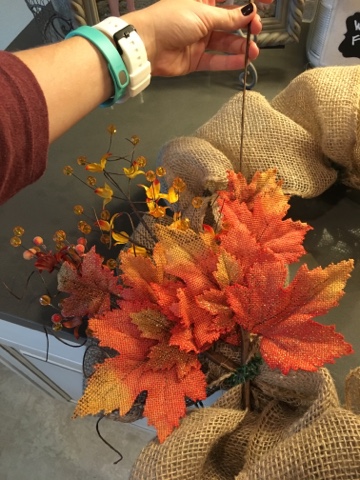
I always put the add ons over the starting point of the ribbon, just to cover up the ends of the ribbon. I start by laying down a flatter group of decorative items kind of like these leaves. You can secure them into the prongs if you want.
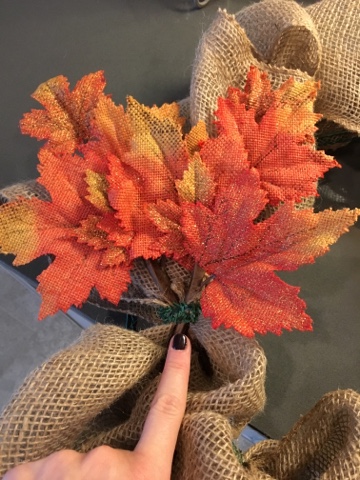
I just arrange whatever I have by inserting them into the ribbon, kind of weaving it behind and out of sight or I just hot glue everything on top of each other haha… just make sure everything gets secured!
 |
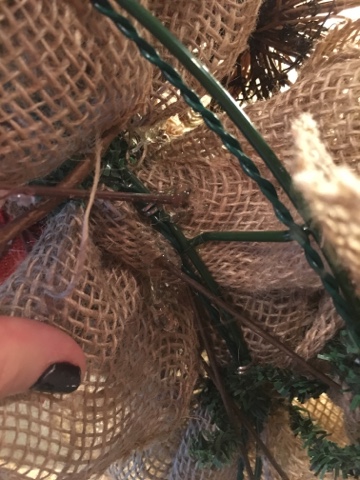
| A view from behind/side… something things are weaved in and out of the ribbon, |
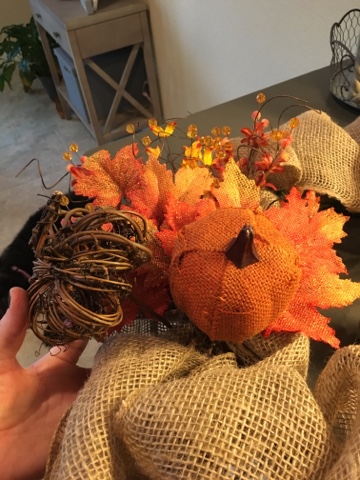 |
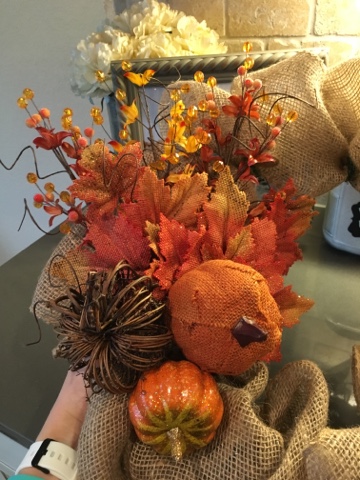
| I save the bigger accents for last, inserting them into the ribbon or glueing them directly on the ribbon. |
 |
| Another pic from behind |
 |
Viola! The finished product! The labradoodle approves!
|
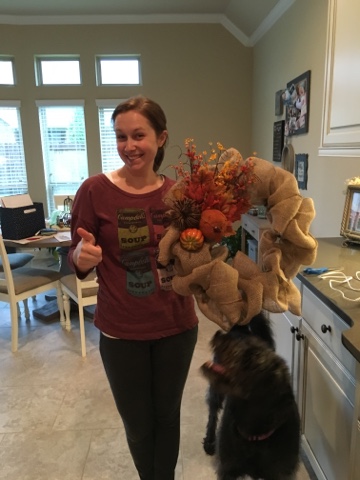
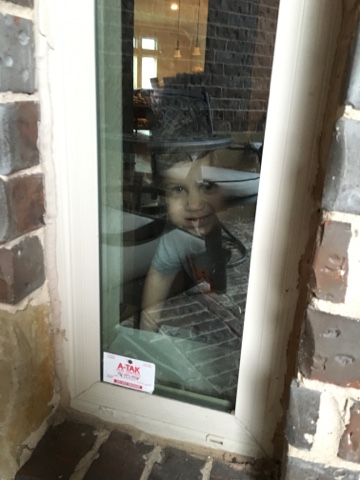
So after I finished the wreath and let everything sit for a few minutes, we went to hang it up on the door. My oldest munchkin had to check out what I was doing!